


 Sign in
 Register now
 My Reward Points
Have you ever thought about whipping up your homemade hair removal wax? Well, guess what? It's not rocket science! We've got the lowdown on DIY wax, complete with some incredible safety tips. Did you know that learning to make wax at home is more accessible than expected?

It's a fantastic way to save cash and allows you to wax whenever possible. Whether you're into classic honey wax or want to experiment with luscious chocolate wax, we've got you covered. So, let's explore how to make homemade wax for hair removal.
Benefits Of Using Homemade Wax
Homemade waxing offers a natural and cost-effective alternative to commercial waxing products. It provides several benefits, including affordability, customization, and skin-friendly ingredients, making it an appealing choice for those seeking effective hair removal at home. Let's see the benefits of using homemade wax for hair removal.
- Gentle Exfoliation: Homemade waxing helps remove dead skin cells as it adheres to the hair and is pulled off, leaving your skin smoother and softer. Sugar in the following recipe offers natural exfoliation. This natural exfoliation can improve the overall texture and appearance of your skin.
- Reduced Skin Irritation: Homemade wax typically contains natural ingredients such as sugar, lemon, honey, etc, that are less likely to irritate the skin than commercial waxes. This can be especially beneficial for sensitive skin, reducing the risk of redness and inflammation.

- Nourishing Ingredients: You can customize homemade wax recipes with skin-nourishing ingredients such as honey, aloe vera, or essential oils. Doing this can make hair removal wax that is truly your own. These additives can soothe and hydrate your skin during and after waxing.
- Longer Lasting Results: Homemade wax often adheres better to the hair, leading to longer-lasting results than shaving. Due to all-natural ingredients, homemade wax will have long-lasting effects. This means you won't need to wax as frequently, reducing the potential for skin irritation from frequent hair removal.

- Natural Ingredients: Homemade wax recipes are free from harsh chemicals and synthetic fragrances, reducing the risk of allergies or adverse skin reactions. Natural ingredients also offer relief from skin irritation after hair removal. Using natural ingredients can promote healthier and more radiant skin over time.
5 Homemade Wax Recipes For Hair Removal
Making handmade wax may appear daunting, yet it is pretty simple. It simply took a few ingredients and steps and was quite simple to use. Here are the best 5 DIY wax recipes for hair removal.
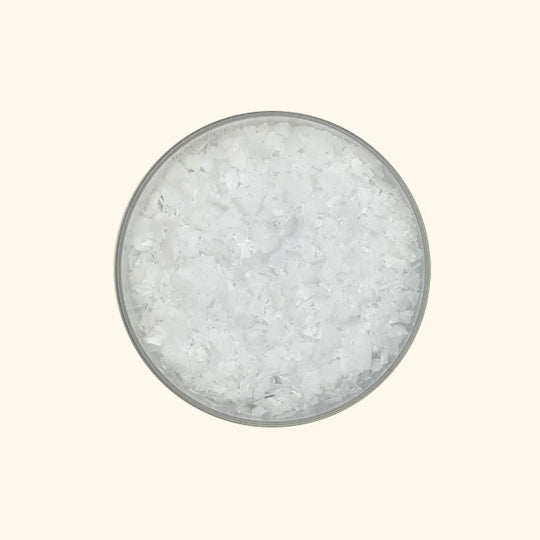
Recipe 1. Sugar Wax For Hair Removal
Sugar wax is the optimal choice, requiring just a handful of ingredients. It boasts a natural composition and generally induces less discomfort than other alternatives. Let's delve into crafting sugar wax at home.
Ingredients
Directions
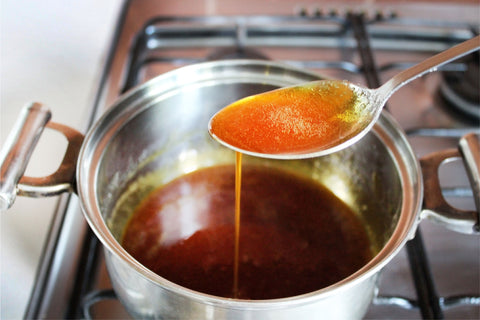
Step 1: Combine all the ingredients in a pot and melt them over medium-high heat.
Step 2: Allow the mixture to boil, then stir to amalgamate the components.
Step 3: Continue cooking until the mixture takes on a caramelized, honey-like hue.
Step 4: Turn off the heat, transfer the sugar wax into a container, and allow it to cool.
Recipe 2. Honey Wax For Hair Removal
Crafting honey wax at home presents an excellent option. Classic honey wax harbors potential dermatological benefits courtesy of honey's antimicrobial properties.

Ingredients
- Honey - 1 Cup
- White Granulated Sugar - 1 Cup
- Lemon Juice - 1 Tablespoon
Directions
Step 1: Combine all the ingredients and place them in a microwave-safe container.
Step 2: Microwave for 30 seconds, then remove it.
Step 3: Microwave for an extra 30 seconds, stirring well.
Step 4: Allow it to cool for 20 minutes.
Recipe 3. Chocolate Wax For Hair Removal
This indulgent recipe, while appearing luxurious, is straightforward to prepare. Cocoa is rich in anti-inflammatory plant compounds, and chocolate wax carries an enticing aroma.

Ingredients
- Granulated Sugar - 2 Cups
- Cocoa Powder - 10-20 Grams
- Lemon Juice - 1 Cup
- Water - 2 Tablespoons
- Salt - 1 Teaspoon
Directions
Step 1: Combine all the ingredients in a pot and place it over medium-high heat.
Step 2: Allow the mixture to melt and boil.
Step 3: Stir until all of the ingredients are fully blended.
Step 4: Cook the mix for a few minutes until it reaches the desired consistency.
Step 5: Please turn off the heat, transfer it to a container, and allow it to cool.
Recipe 4. Fruit Wax For Hair Removal
Fruits abound with antioxidants, vitamins, and minerals. Customize your wax by adding your favorite fruit to this homemade wax-making recipe.

Ingredients
- Granulated Sugar - 2 Cups
- Pulpy Fruit Juice or Powdered Fruit - 10-20 Grams
- Lemon Juice - 1 Cup
- Water - 2 Tablespoons
- Salt - 1 Teaspoon
Directions
Step 1: Combine all the ingredients in a pot and incorporate your favorite fruit juice or powder.
Step 2: Place it over medium-high heat and let it melt.
Step 3: Once the mixture boils, stir until all the ingredients are thoroughly blended.
Step 4: Cook until the blend reaches the desired consistency.
Step 5: Turn off the heat, transfer the sugar wax to a container, and allow it to cool.
Recipe 5. White Chocolate Wax For Hair Removal
Indulge in the luxuriousness of white chocolate wax, which reduces premature skin aging and relaxes and widens pores, making the waxing process less excruciating than traditional wax.

Ingredients
- White Chocolate Chips - 1 Cup
- Glycerin - 1 Cup
Directions
Step 1: Microwave the white chocolate chips in 30-second increments until completely melted.
Step 2: Gradually add glycerin and mix thoroughly.
Step 3: Allow the wax to cool, and store it in an airtight container.
How To Use Homemade Wax For Hair Removal At Home?
Now that you're equipped with various recipes, you can craft your wax at home. Old cotton t-shirts are the ideal choice for waxing, and some recipes eliminate the need for strips, rendering them self-sufficient.
Step 1: Start by cleansing the area of skin you intend to wax.
Step 2: Employ an exfoliator to eliminate dead skin cells, dirt, grime, and excess oil.
Step 3: Apply a dusting of talcum powder to remove excess moisture.
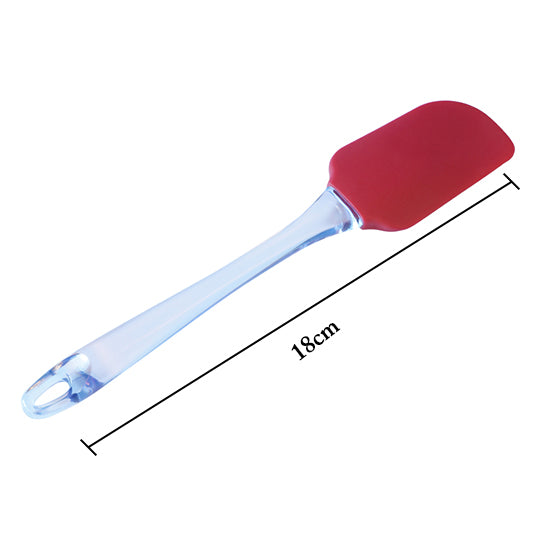
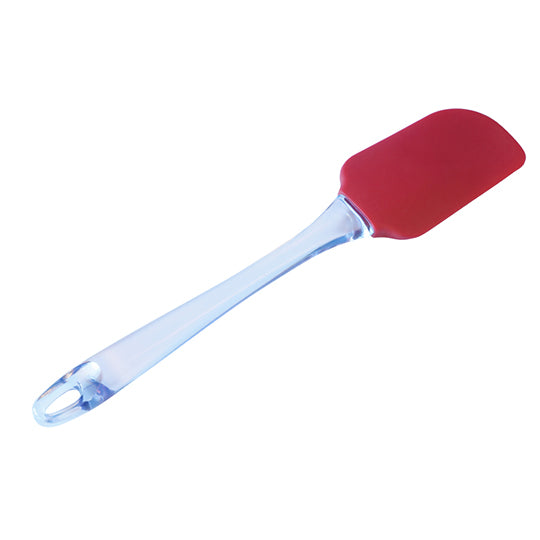
Step 4: Spread the wax evenly toward hair growth using a spatula or butter knife.
Step 5: If strips are in use, apply them to the wax and gently press them.
Step 6: When removing the wax/strip, always pull in the opposite direction of hair growth.
Conclusion
Which homemade wax recipe for hair removal do you favor the most? Crafting your hair removal wax at home can be a thrilling and gratifying experience, offering numerous opportunities for experimentation. To ensure success, it's essential to select high-quality ingredients.
Visit us at www.VedaOils.com to discover 100% pure, natural ingredients for making homemade hair removal wax. Take advantage of the opportunity to enjoy discounted prices on your first order.